- Quickstarts
- MongoDB
Deploy MongoDB
MongoDB is a popular, scalable, NoSQL database used by millions of developers. You can run your own MongoDB instance as a private service on Render backed by high performance SSDs with automatic daily snapshots.
We’ll be deploying MongoDB using the latest official Docker image and the Render MongoDB repository to install MongoDB with a single click.
If you're interested in connecting a Render-hosted app with a database on MongoDB Atlas instead of with an instance of MongoDB hosted on Render, refer to the guide:One-Click Deploy
Click the Deploy to Render button below to deploy MongoDB on Render.
Manual Deploy
-
Create a new Private Service on Render and enter
https://github.com/render-examples/mongodbin the repository search box. You can also fork the repository on GitHub or clickUse this template. -
Pick Docker for the Runtime.
-
The
masterbranch uses the latest stable version of MongoDB. You can pick a different branch if you’d like to use a specific MongoDB version. -
Under Advanced, add a disk with the following values:
Name dbMount Path /data/dbSize 10 GBFeel free to change this to suit your needs.
You’re all set! Save your private service, and your MongoDB instance should be up in a few
minutes. You should be able to connect to it using the host:port displayed in the dashboard. It should look like
mongo-xyz:27017.
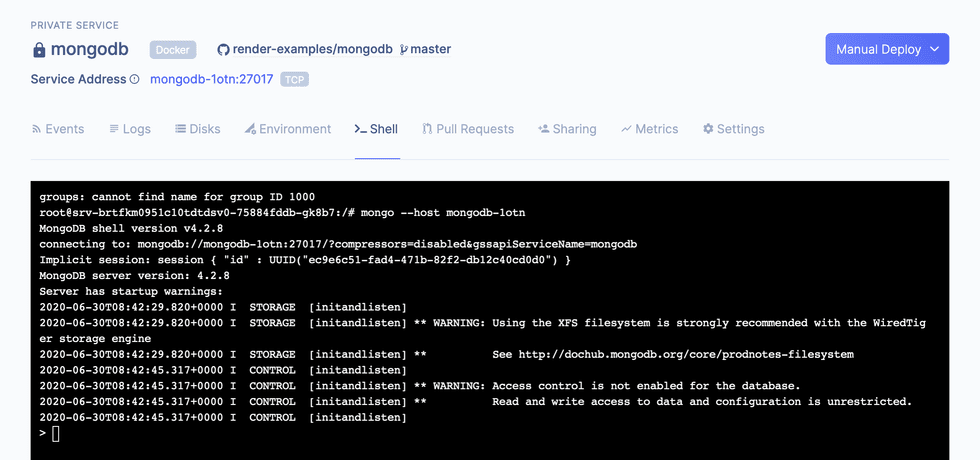
You can use the shell in your dashboard to connect to your database.
mongo --host mongo-xyz

Backups
Relying on a disk snapshot to restore a database is not recommended. Restoring a disk snapshot will likely result in corrupted or lost database data.
Using a database’s recommended backup tool (for example: mongodump) is the recommended way to backup and restore a database without corrupted or lost data.
