Connect Bitbucket
Connect your Bitbucket account to Render to start deploying apps and sites using any repo you have access to. Render automatically redeploys your project with every push to your linked branch (you can disable this).
Render can also spin up a preview instance of your project with every opened pull request to help you validate changes.
Setup
-
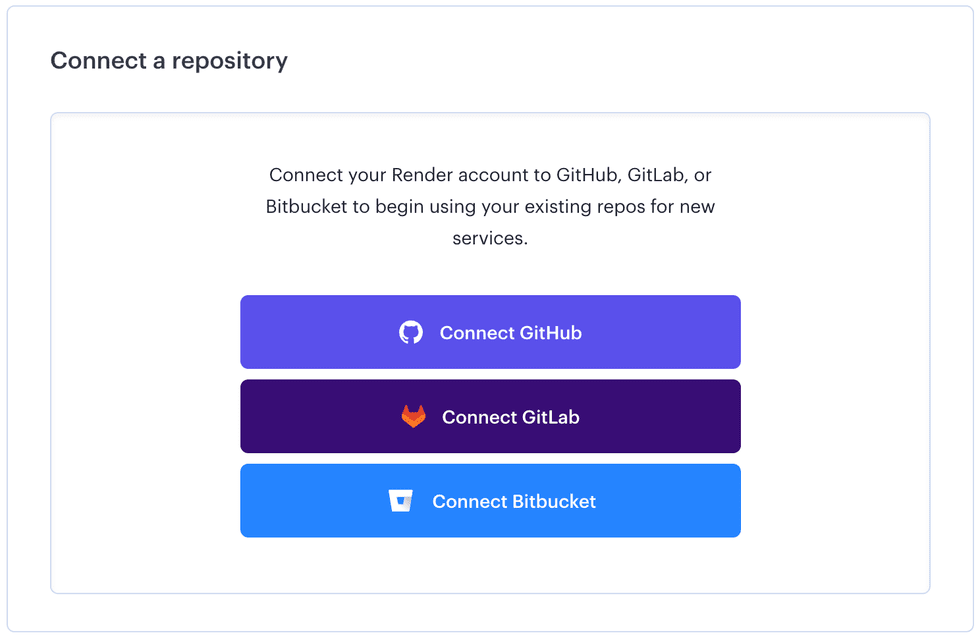
When you create your first service in the Render Dashboard, you’re prompted to connect your Git provider:
-
Click Connect Bitbucket. This redirects you to Bitbucket so you can authorize Render to access your repositories.
-
You’re then redirected back to the Render Dashboard, which now displays a list of your Bitbucket repos:
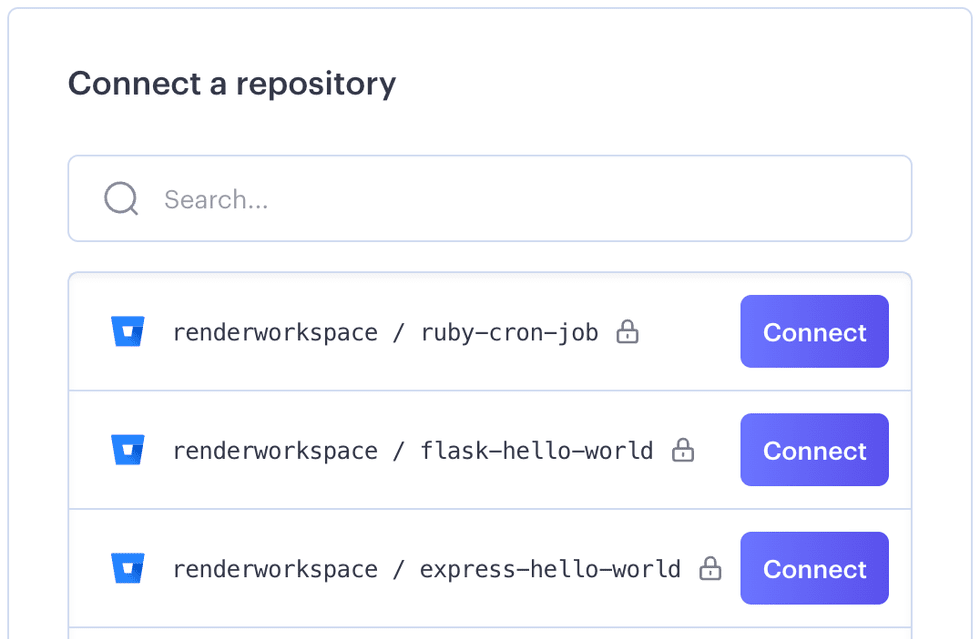


You’ve successfully linked your Bitbucket account! Whenever you create a new service, click the Connect button for whichever repo you want to use for that service. Then complete the remainder of the service creation flow.
Pull request previews
Render can automatically build and deploy a preview instance of your service for every pull request that’s opened against your project.
For details, see Service previews.
Git submodules
If your repo defines a .gitmodules file at its root, Render automatically reads it and clones all specified Git submodules as part of your service’s build process.
If your .gitmodules file includes private submodules, Render can clone them only if your linked Bitbucket account has access to the corresponding private repository.
Log in with Bitbucket
In addition to deploying projects from Bitbucket, you can use your Bitbucket account to log in to the Render Dashboard. If you have an existing Render account that matches your Bitbucket account’s primary email address, Render logs you in to that existing account automatically.