Formspree
With Formspree you can accept form submissions on your static site without needing a backend. It provides a number of integration options, all of which you can use with Render.
Using the Formspree Dashboard
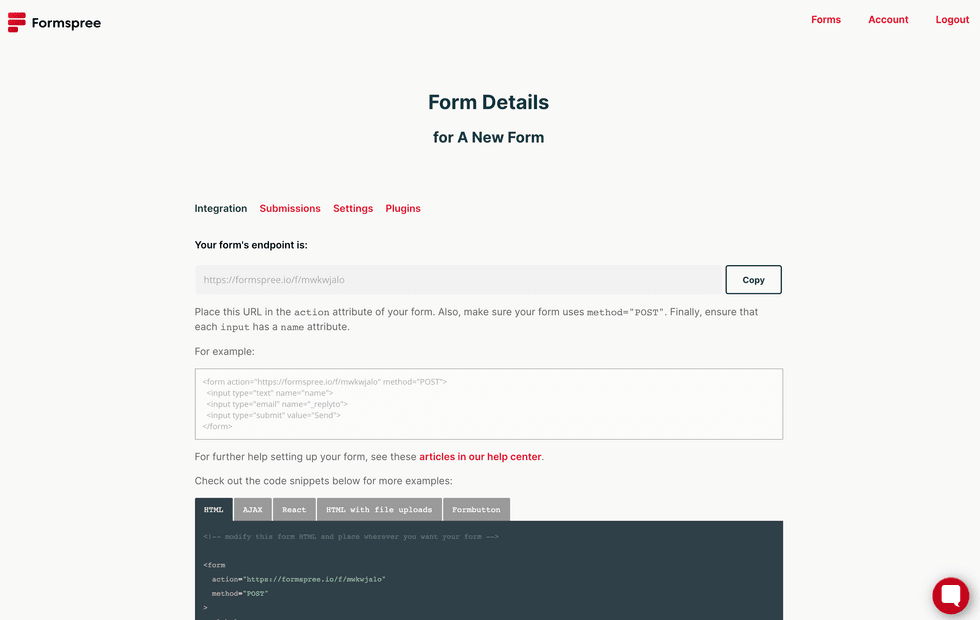
To get started, create a Formspree account, log into your dashboard, and create a new Dashboard Project.
After you create a new form in your project, you’ll get an endpoint URL to use as the action attribute in your form. Submissions will be directed to your Formspree account. This integration option does not require configuration changes to your Render service; simply set the action URL in your form.

Using the Formspree CLI
You can use Formspree’s CLI together with the Formspree React library to programmatically create and configure forms on every deploy.
Follow Formspree’s documentation to install their React library and CLI. To set up continuous deployment on Render, add the FORMSPREE_DEPLOY_KEY environment variable to your Render site and set the value to the deploy key in your Formspree project settings.
Install Formspree’s CLI as a dependency using npm or yarn:
# with npm
npm install -save @formspree/cli
# with yarn
yarn add @formspree/cliAdd Formspree’s deploy script to your package.json as shown below:
{
  "name": "my-cool-site",
  "version": "0.1.0",
  "dependencies": {
    "@formspree/cli": "^0.9.6",
    "@formspree/react": "^2.2.3",
    "react": "^16.7.0"
  },
  "scripts": {
    "start": "react-scripts start",
    "build": "react-scripts build",
    "formspree-deploy": "formspree deploy"  }
}
You can then append Formspree’s deploy script to your build script or existing build command as follows: npm install; npm run formspree-deploy.
