PostgreSQL Recovery and Backups
Restore your database to a previous state and create logical backups.
Need to recover lost data? Start here.
We’re happy to help with restores and disaster recovery. Reach out to our support team in the Render Dashboard.
Render continually backs up paid PostgreSQL databases to provide point-in-time recovery (PITR). This enables you to restore your database to any previous state from the past few days, so you can recover from an accidental table drop or other data loss.
Your database’s available recovery window depends on your workspace plan:
| Workspace plan | Recovery window |
|---|---|
| Hobby | Past 3 days |
| Professional or higher | Past 7 days |
When you trigger PITR, Render spins up a new database instance that reflects your original instance’s state at a specified time in the past. This enables you to validate the new instance in isolation before updating your services to use it.
- If your recovery instance reflects the state you expect, you can then configure your other services to use it instead of the original instance.
- Otherwise, you can delete the recovery instance and initiate a new recovery using a different point in time.
Perform a recovery
Render does not provide recovery capabilities for free PostgreSQL databases.
To enable these capabilities, upgrade your instance type.
-
In the Render Dashboard, select your database from the service list and open its Recovery page.
-
Scroll down to the Point-in-Time Recovery section and click Restore Database:
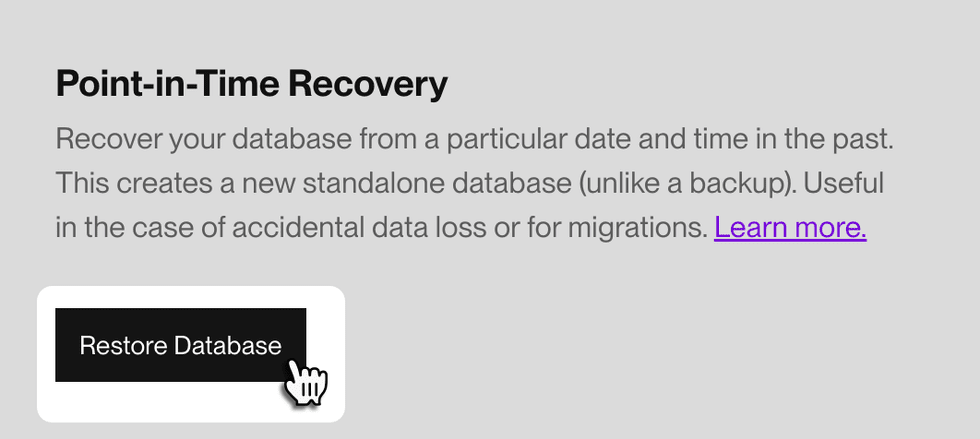
If point-in-time recovery isn’t yet enabled for your database, go here.
-
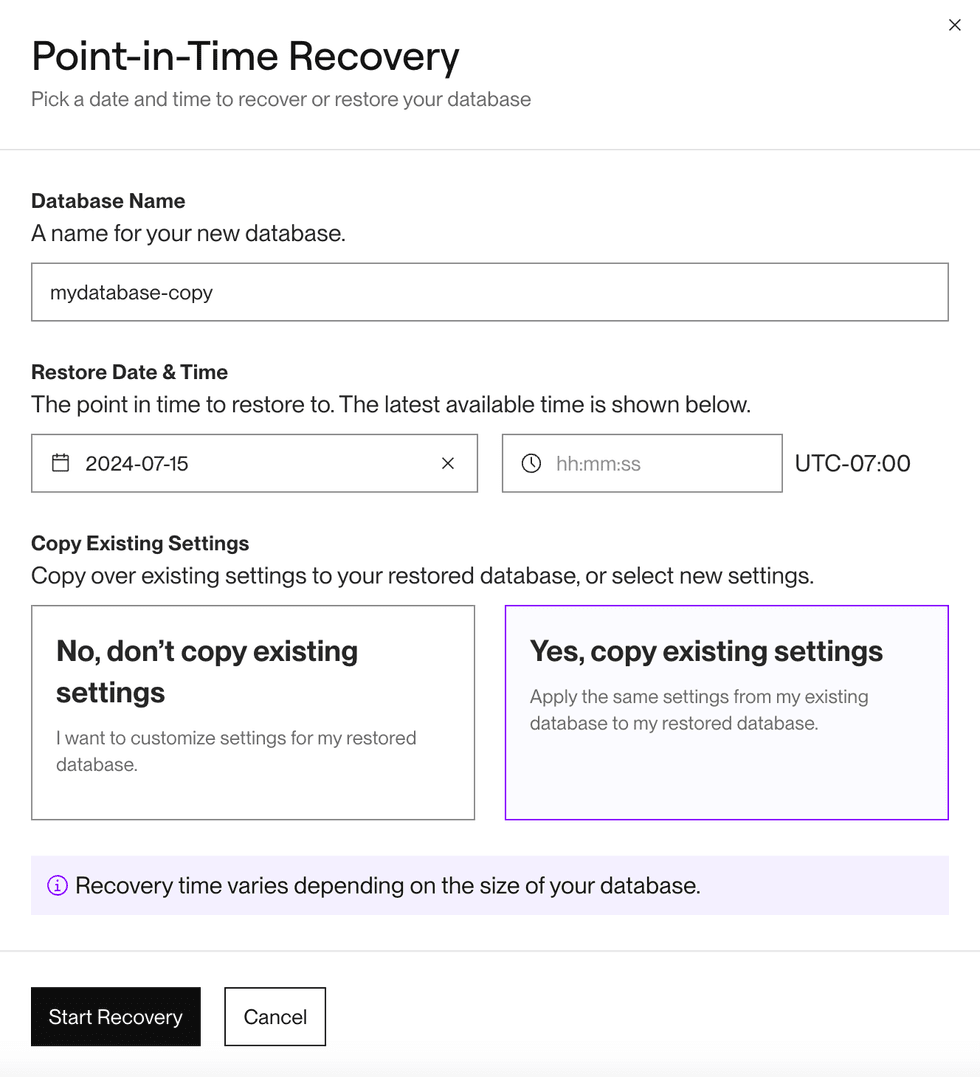
The following form appears:
-
Provide a name for the new database instance.
-
Specify an available date and time to restore to.
- You can’t restore to a time that’s within ten minutes of the current time.
-
Select whether to Copy Existing Settings.
- If you select No, you’ll have the option to specify a different instance type, Datadog API key, and/or project for the recovery instance.
- The recovery instance always copies the IP address allow list from the original instance.
-
Click Start Recovery to initiate the restore.
- If you selected No in the previous step, click Customize Recovery and then provide your new settings for the recovery instance.
-
In your service list, the recovery instance’s status will advance from Recovery In Progress to Creating, and then to Available when it’s ready to accept connections.
-
Validate that the data in the recovery instance is what you expect.
- You can connect to the recovery instance from your terminal using the PSQL Command provided on the database’s Info page.
-
Update your services and other tools to connect to the recovery instance instead of the original instance.
- The recovery instance’s name and connection strings are available in the Render Dashboard.
- Environment groups enable you to update the connection string for multiple services in one place.
-
After verifying that all systems are successfully connected to the recovery instance, you can delete or suspend the original instance.


The recovery is complete. Your recovery instance is now your primary instance.
Logical backups
You can create logical backups of your database in the Render Dashboard. Download these backups for long-term retention or to restore into a local database instance.
Render retains logical backups according to your workspace plan:
| Workspace plan | Backup retention period |
|---|---|
| Hobby | 3 days |
| Professional or higher | 7 days |
Render does not create logical backups for free PostgreSQL databases.
To create a logical backup for a free instance, do one of the following:
- Upgrade your instance type.
- Use the
pg_dumputility from your local machine.
Trigger a backup
From your database’s Recovery page, click Trigger Backup:

You can’t trigger a backup while a different backup is in progress for the same database.
When it’s ready, your database’s new backup will appear in the table on its Recovery page.
Each backup consists of two compressed artifacts: a SQL-based backup (.sql.gz) and a filesystem-based backup (.tar.gz). Both artifacts contain all data from all databases in your PostgreSQL instance at the time of capture.
Interested in automating logical backup retention?
See Backup PostgreSQL to Amazon S3. This guide walks through creating a cron job that uploads SQL backups from pg_dump to S3.
Restoring from a backup file
We recommend using point-in-time recovery to restore your database in the event of data loss.
PITR enables you to preserve changes that occurred after your most recently captured backup.
If your database uses a legacy instance type, it might not yet support point-in-time recovery. In this case, Render captures daily logical backups of your database, which are available from its Recovery page:
You can download and use a SQL-based (.sql) backup file to restore your data to a running PostgreSQL instance.
These backup files include SQL commands to drop databases and recreate them.
This prevents data duplication when restoring to a database with existing data.
-
Go to your database’s Recovery page and click the
.sql.gzdownload link for a recent backup. -
Obtain the External Database URL for the database you want to restore into.
-
Run the following commands, providing your backup file and the target database URL where indicated:
# First unzip the backup file
gzip -d $backup_file

# Restore this backup to your database using its external connection
# string (available in the dashboard).
psql $external_database_url -f $backup_file
How Render creates backups
- Render uses
pg_dumpto back up instances with a single database andpg_dumpallfor instances with multiple databases.- Because
pg_dumpallitself usespg_dump, some diagnostic messages frompg_dumpallmentionpg_dump.
- Because
- Backups using
pg_dumpallinclude the--no-privilegesflag, and they omitGRANTandREVOKEcommands. This helps minimize errors when performing a restore.- If you need to set custom access privileges for a restored database, you can configure them after the restore completes.